Recording Videos
Motif can be used to record from one or multiple cameras concurrently or independently. Depending on your configuration you will operate Motif in one of the modes below. If you are not sure which mode Motif is operating in, see this diagram.
Single Camera Operation
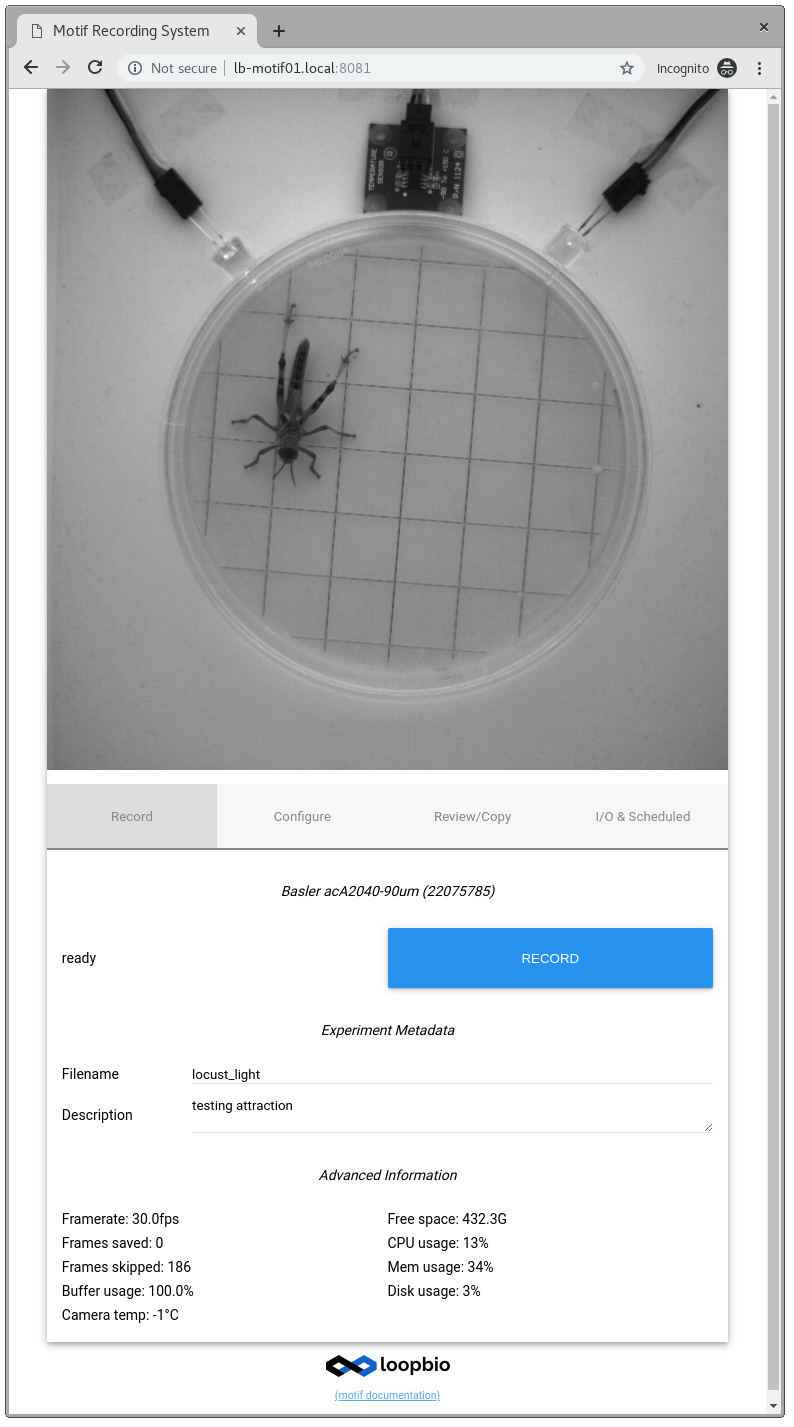
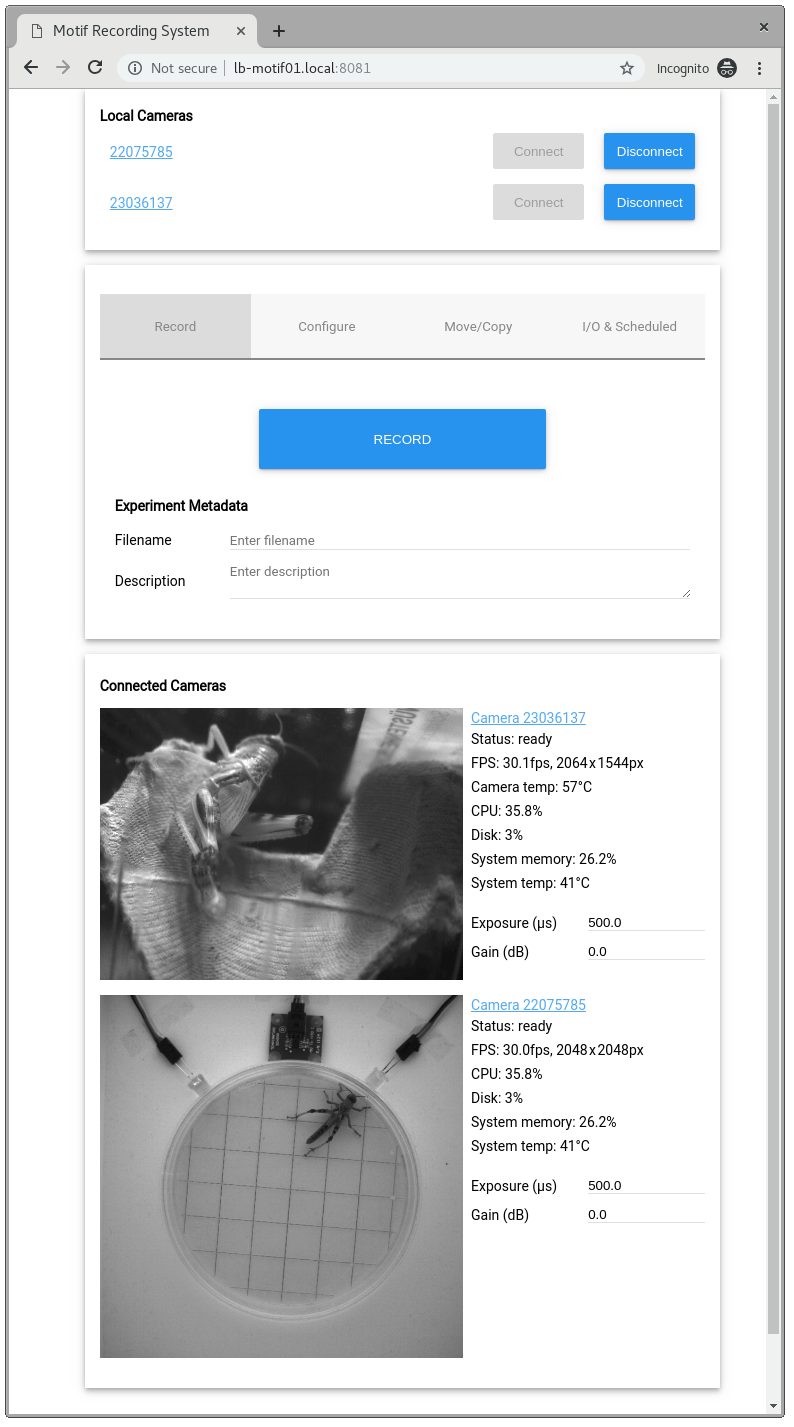
Recording is started from the "Record" tab in the WebUI. Here you also have the opportunity to enter metadata about the animal being recorded.
Adjusting Camera Parameters
Camera parameters are adjustable from their default values (which are set in the configuration file in the "Configure" tab. For a guide to setting camera parameters and lighting, see here
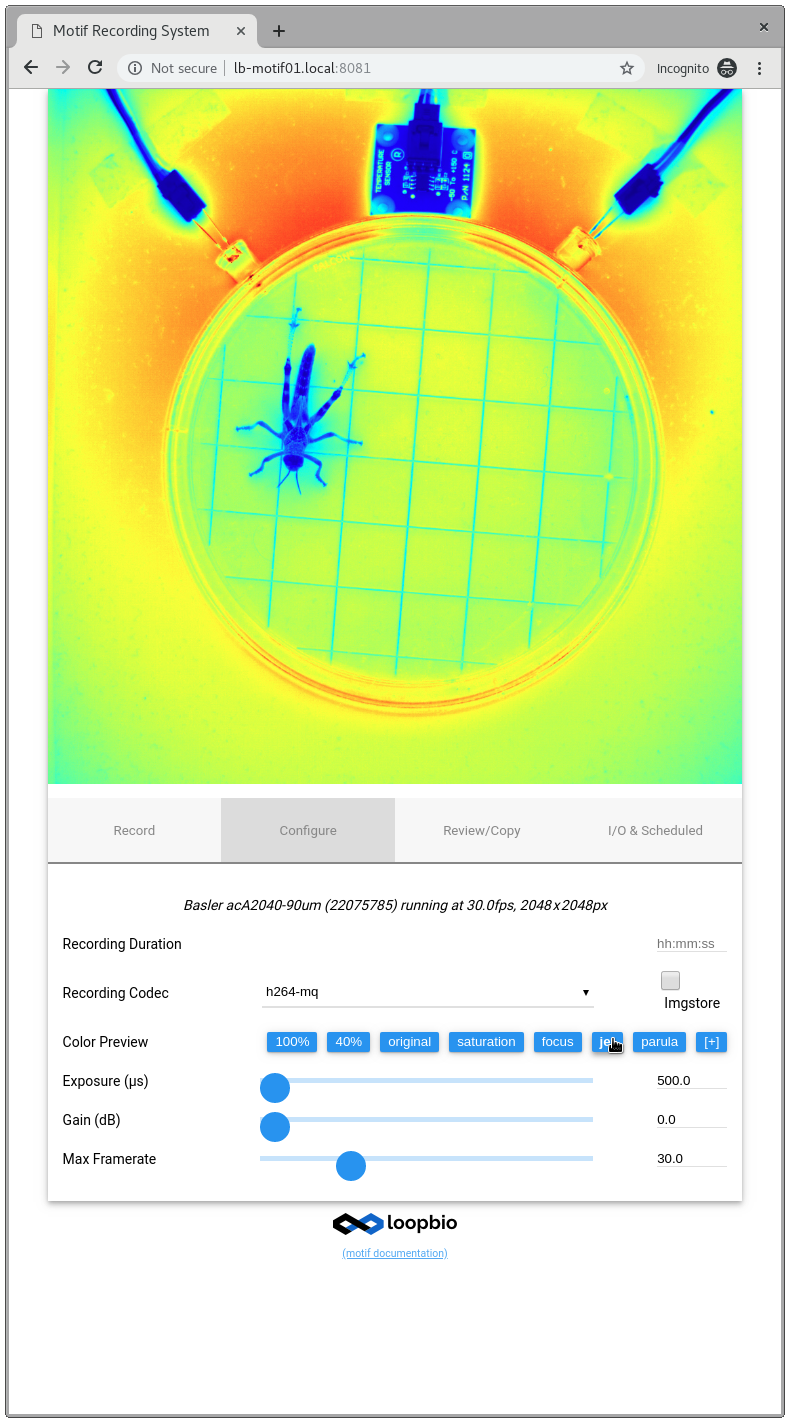
- Slect the "Configure" tab
- Set the framerate
- Set the exposure time. The exposure time has to be <1000000µs / framerate. If the exposure time is longer the resulting framerate will be reduced.
- Set the gain
- Select the codec and set the framerate in the "Configure" tab. Field recording systems often only support "raw", Lab systems ship with multiple pre-configured options optimized for the specific system (see codecs for more details).
Monitor System Performance
1) Before starting a recording make sure that enough disk space is available. Motif will stop recording as soon as the disk fills more than 94%.
2) Watch the CPU and GPU load, CPU should be approximately <80%, GPU can be 100. However, the buffer should not be filling up. Recording performance (fps) on field systems might be influenced by thermal constraints, make sure that the recording has sufficient cooling (DO NOT COVER IT).
3) The buffer is for holding images until they can be stored/written to the recording. It should remain low and not fill up while recording. Filling up while recording indicates that the system load is to high. Reduce the frame rate or number of cameras you record from.
Multiple Camera Operation
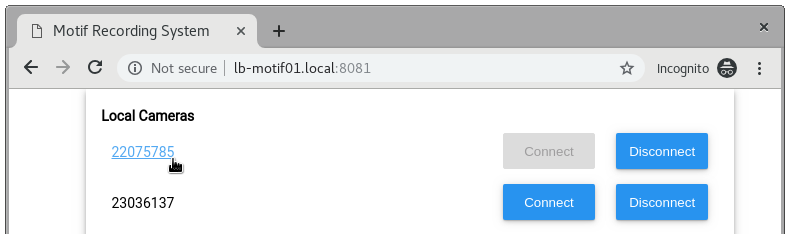
In all multiple camera configurations, cameras must be 'started' before they can be used. After visiting the WebUI in any multiple-camera configuration, you will see a list of all detected cameras. Clicking "Connect" starts the camera so it can be recorded.
Tip
After a camera has been started, you can always visit its single camera WebUI by clicking on the link (see screenshot above) next to its serial number.
Index Mode
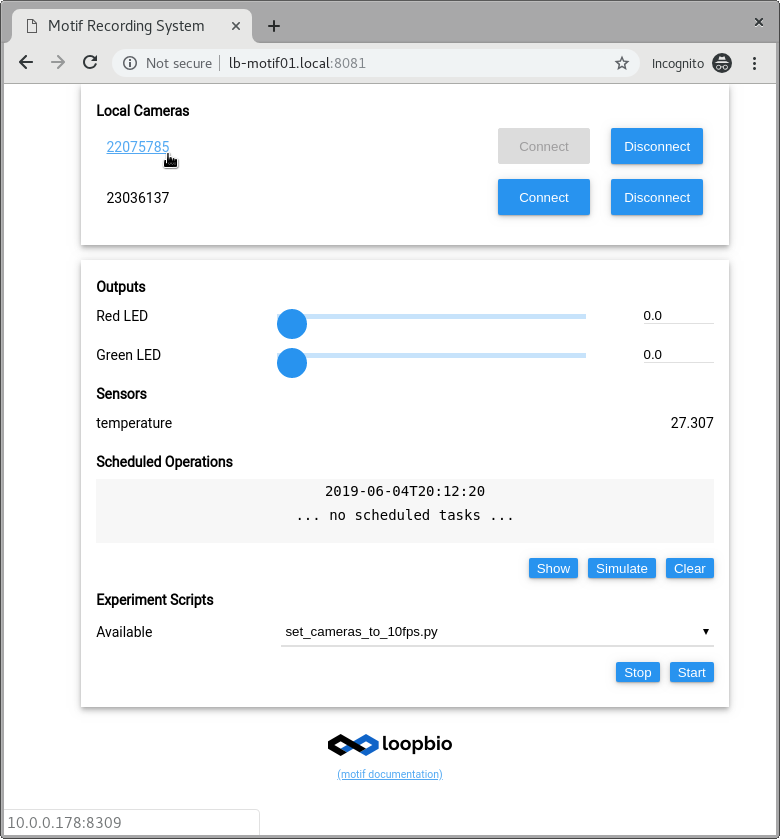
After cameras have been started they can be controlled independently via their single camera WebUI.
Additionally, in 'index' mode, you can control any configured outputs, monitor the status of any sensors, and start and stop experiment scripts.
Master Mode
After cameras have been started they can be controlled all at once, from the master user interface.
Important
If you have purchased a loopbio triggerbox for synchronized acquisition from multiple cameras, then make sure it is connected and detected ("Triggerbox: Connected"). If not you need to restart the recording unit.
Start/Stop Recording
In 'master' mode, starting and stopping recording will cause all cameras to start recording at once.

Note
- you need to have at least one camera started.
- cameras do not need to be restarted before starting a recording. If a camera is already running we advise to not restart the camera.
Adjusting Camera Parameters
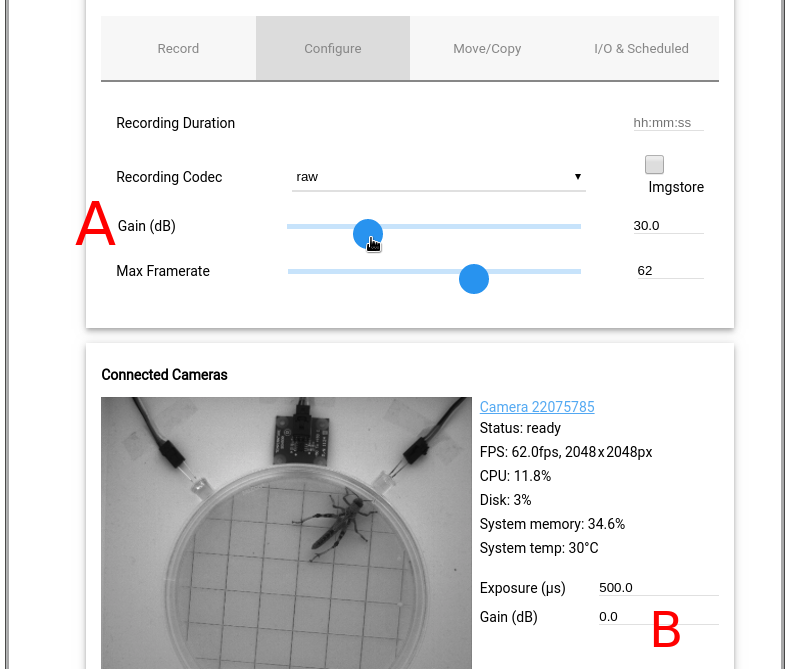
In 'master' mode, you can adjust all camera parameters at once. In the screenshot below:
- Changing the Gain at
Awill adjust the Gain value on all cameras. - Changing the Gain at
Bwill only adjust the Gain value on this one camera.
Note
If you adjust camera parameter using other means, including from the single-camera user interface, or using the REST API, the values on the 'master' page will not necessarily reflect those which were used.
Synchronizing Cameras
If you are using multiple synchronized cameras then you need to ensure to click that the cameras are synchronized. If you have purchased a loopbio triggerbox for synchronized acquisition from multiple cameras, then make sure it is connected and detected ("Triggerbox: Connected"). If not you need to restart the recording unit.
Recording Format & Recording Configuration
If you wish to only record for a limited duration, or if you wish to choose between recording to imgstore format or not, these settings are available in the "Configure" tab.
Note
By default Motif records to imgstore format with a fixed framerate of 25fps - independent of the camera framerate. The configured framerate of the camera at the time of recording is stored in the user metadata and in the case of the framerate changing during recording, can be derived from the frame timestamps also recorded in the frame metadata. See here for API.
If there is no checkbox which allows selecting between imgstore and normal videos, then
your system has likely been configured to record to only one or the other format. To change this,
adjust the value of the RecordToStore configuration file option.

For information on viewing and playback of imgstores, see this page.
Tip
To read imgstores it is recommend to use the provided imgstore python library and not manually open the data, metadata, and video files.